The past couple of weekends have been such fun. I began to tackle the DIY projects that have been floating around blog land and hence swirling around in my head. Today I'm here to share my first DIY Success. Old coffee table turned into lovely ottoman.
I have been drooling over many posts I've seen of these circulating on the interwebs and just had to give it a go. My original inspiration came from Little Green Notebook , one of the first DIY blogs I followed. When inspired by Little Green's post I had only dreamed of attempting any kind of DIY project, but as my blog following became a more serious habit, I was filled with confidence that I too could do this and gave it a shot.
My coffee table of choice is not quite square like Jenny's but VERY rectangle. I was ok with that though b/c its size is better suited for the space it will fill. A definite blast from the past, this was actually my parents' coffee table while I was growing up. When they were through with it she, yes it's now a she, was banished to the garage. When I left my parents' nest and was in need of furniture I found her waiting patiently for me in the garage. I painted her white and she tagged along through most of my twenties. After my last move she was once again banished to the garage....Until now.
Last week I pulled her out and here she is in all of her white-ness and glory.

I then removed her shelves, which I'll save for another revamp project of some sort.

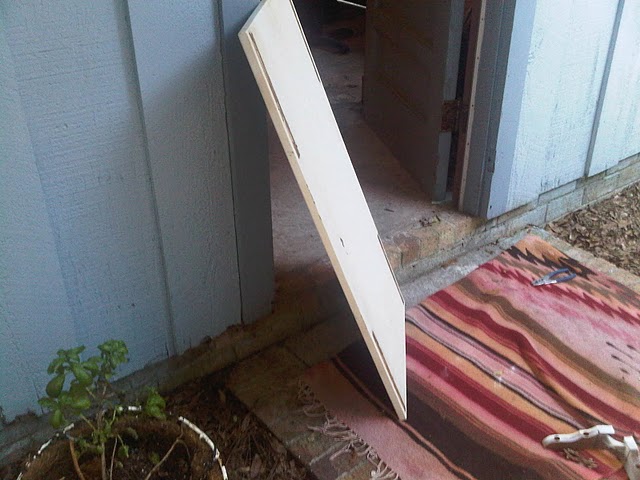
Next I Removed her under brackets and legs...

And was left with this...
I have never reupholstered ANYTHING! This was the most intimidating part for me. Rather than spend a fortune on fabric, I used the wonderful advice of Traci from Beneath My Heart about using drop cloths to redecorate. I love the linen look of all the drop cloth projects she has on her blog.
My ottoman took half of a 6x9 drop cloth and that's probably a bit more than usual being that this was my first attempt doing this. For the foam, I was thrifty and used an old tempurpedic-ish mattress topper that was the perfect thickness. I would love to thank all of the wonderful ladies out there who mentioned using a bread knife for cutting the foam. It went through like BUTTER. I washed, dried, and ironed the drop cloth, cut the foam to size, gave her legs a bit of a spray tan and then got to work with the help of Mr. Bliss and my handy new electric stapler. Check her out............she's back:):):)

....and with sexy black legs to boot!!......

Back soon with my next project!!! Thanks for stopping by!

Back soon with my next project!!! Thanks for stopping by!
Good Job Ann! Glad 2 c ur blogging! & great project- I might think of a couple more 4 u :)
ReplyDeleteThat turned out great! Good job. ;)
ReplyDeleteThanks so much for the shout out. I am so glad you like the way it turned out.
Blessings!
Traci
Cute! I love the idea of an old matress topper! Can't wait to see what you come up with next!
ReplyDeleteLove your guts
mandi
Thanks Mandi!! Checking out your revivals now:)
ReplyDelete